To be more specific, why did it never occur to you to think about it in the first place? Have you ever had feelings that were similar to those you just described? I've brought you here today to learn about the differences between fully polished glazed tiles and marble tiles because I don't know which kind of interior design aesthetic would work best in my house. Marble tiles and fully polished glazed tiles are both types of tiles. What exactly are these variations?
The fully polished glazed tiles and the marble tiles both have distinct characteristics that set them apart from one another, including the following:Inkjet printing, screen overprinting, and a hybrid technique that combines inkjet printing and screen overprinting are the three methods that are currently available for printing marble. Printing with an inkjet printer is by far the most common method. The manufacturing process is finished when glaze is applied to the surface of both types of bricks. This creates a brick body and brings the process full circle. The quality of the glaze is typically what ends up being the deciding factor in terms of the overall quality of the ceramic tile. This step is absolutely necessary for the completed product.
Variations in how things appear on the surface
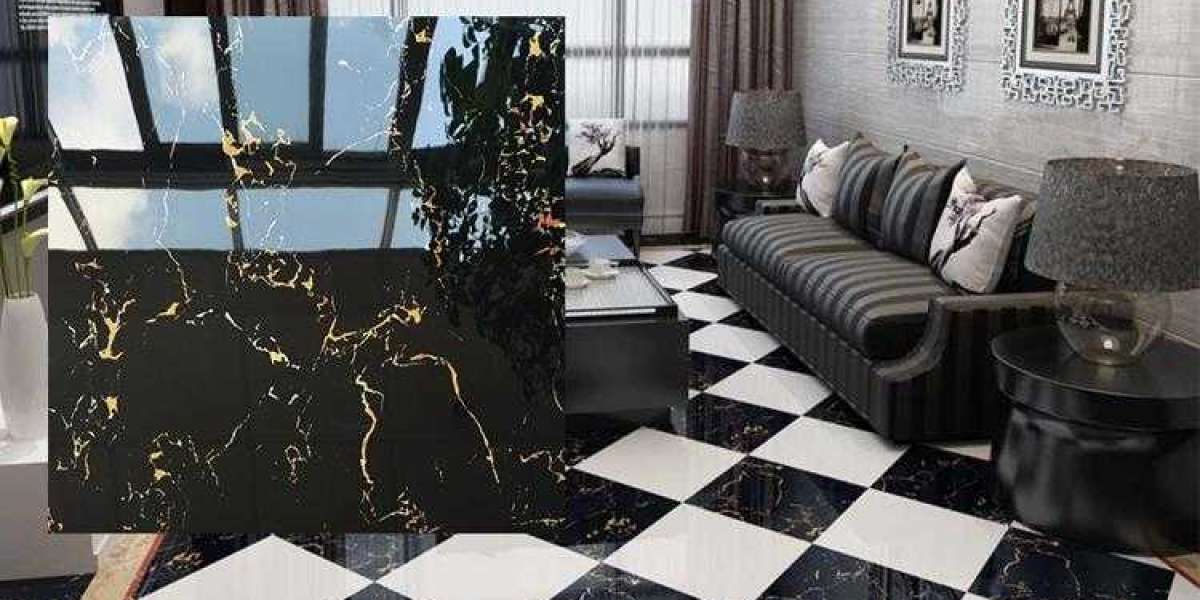
Because these tiles have a natural marble-like texture and color, as well as the characteristics of atmosphere, elegance, and luxury, they are referred to as marble tiles. This is also due to the fact that these tiles possess the characteristics of atmosphere, elegance, and luxury. The fully polished glazed tiles, which also include a variety of stone textures, feature a plethora of colors and textures, some of which are more subtle than others. These tiles have been polished to an extremely high degree. In addition to that, the surface of this tile is completely smooth and has a high gloss throughout its entirety.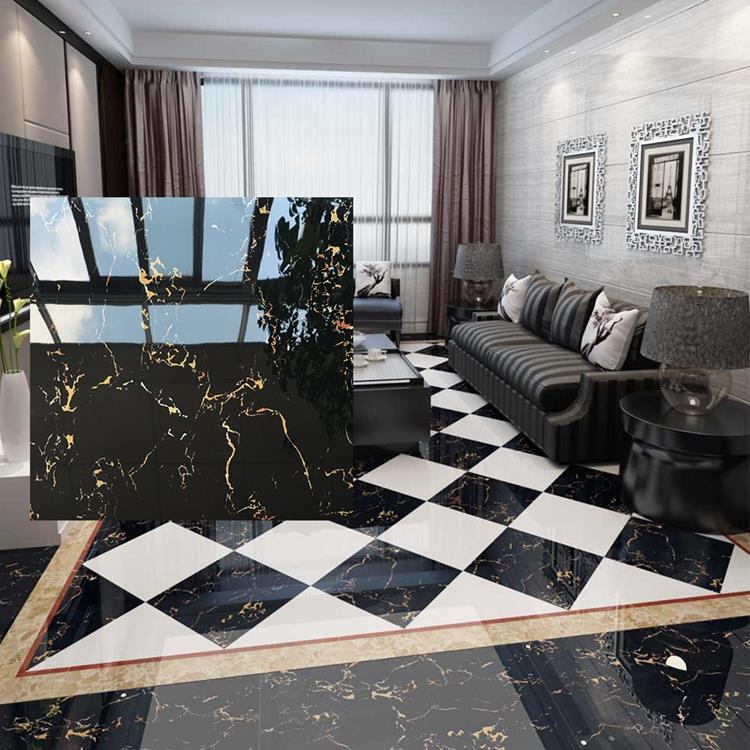
To put it another way, in terms of appearance, the two varieties of ceramic tiles do not differ from one another very much; however, you can differentiate between them based on the gloss of the surface. Marble tiles have a surface gloss that is more similar to that of natural marble. This imparts luster to the tiles and makes them appear brighter than fully polished glazed tiles.
3. The price of marble tiles is typically higher than the price of ordinary full-polished glaze because it is difficult to imitate the appearance and texture of marble. This is one of the reasons why marble is so popular. This is because marble is extremely difficult to successfully imitate in other materials.
The production of full-polished glaze requires the use of both polished and antique adobe; as a result, it combines the benefits that are associated with both types of adobe, and these benefits are readily apparent. What do you consider to be the most significant factor contributing to the disintegration of the tiles? Is there any way that this problem can be solved, and if so, what is it? What are the most common factors that lead to tiles becoming loose and falling off of their respective walls?
3. Either the dust that was on the back of the tile was not cleaned off, or not enough water was allowed to penetrate into the tile. This could be one of two possible explanations. Because the stain that was on the back of the tile was not removed prior to laying it, and there are an excessive number of water marks on the surface, it will not be possible to create a bond that is realistic. Because of this, the adhesive force is significantly lower than that of ceramic tiles, and the rate of shrinkage and expansion of ceramic tiles is approximately 410-6. In the event that the cement contracts, the shrinkage rate of the porcelain tiles and the ground will not be the same. The national standard for the water absorption rate of ceramic tiles is E0.5%, whereas the national standard for ceramic tiles is 10%. At this point, a hollow space has been created in the porcelain tiles by carving out the bottoms of the tiles to expose the porcelain underneath.
5. ), this will result in the separation of two different objects from the brick and the cement, as well as the hollow bottom of the brick. In addition, the hollow bottom of the brick will be created. This can also occur if they are not attached to the cement in its entirety. After the initial setting period, the mortar will settle because of the inconsistent density of the mortar, which will result in hollowing and loosening of the structure. 7. After laying large-scale tiles, there is temperature difference stress, which is distinct from the thermal expansion coefficient of cement; seasonal temperature difference oscillation cheap ceramic tiles will cause the bonding strength to decrease 9; and there is also a correlation between the temperature difference stress and the bonding strength. 9. There is also a correlation between the temperature difference stress and the bonding strength.
The spaces between the tiles, particularly the larger-sized tiles, are inadequately sized. As a consequence of this, the tiles are forced away from one another as a result of thermal expansion and contraction, which leads to warping and cracking. Particularly problematic are the larger-sized tiles, which have spaces between them that are inadequately sized.
How to prevent individual tiles from coming loose in real life situationsIt is required that the cement slurry bonding layer be brushed evenly when laying ceramic tiles, and the brushing time should not be too long in order to prevent air-drying and hardening of the layer. Combining it with tile adhesive brings out its full potential. The mortar should be mixed in accordance with the proportions exactly, and water should not be added on a whim at any point during the process. This should be done to ensure that the mortar turns out properly.
3. Prior to laying floor tiles, the dust that was on the back of the tiles needs to be cleaned off, and the water needs to be moistened so that the tiles will adhere well. This ensures that the tiles will be able to be laid without any problems. When laying floor tiles, it is important to press on all four corners at the same time. This will ensure that the tile is flush with the mortar and approximately two to three centimeters higher than the pull line. The next step is to use a wooden or rubber hammer to tap the tile, and then to use a level ruler to level the face of the tile. After the initial section has been paved, the succeeding sections can either be paved sequentially on both sides or in the opposite direction, whichever is preferred.